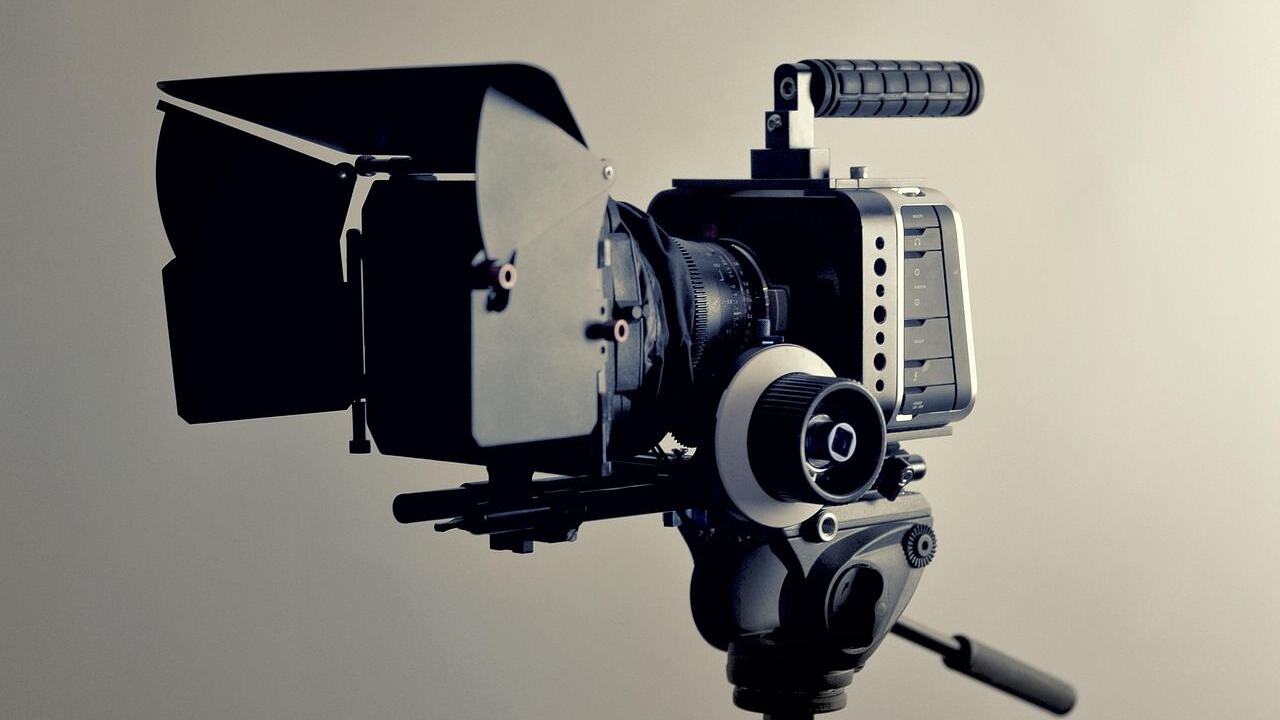
A 3D camera rig holds two cameras so they can record the left and right eye views of the same scene. The two common designs are the side-by-side rig and the mirror, or beam-splitter, rig.
Each design solves the same problem in a different way and suits different shots. This page explains how they work, as part of the wider 3d film production guide. It is an independent informational page, not affiliated with any studio, brand or company.
What a rig has to do
Stereoscopic cinematography copies the way two eyes see. A training handout on stereoscopic 3D describes a pair of matched cameras, typically spaced at roughly adult eye distance, about 6cm. The horizontal offset between them produces the binocular disparity from which the brain builds depth.
The rig is the mechanical frame that makes this possible. It must hold both cameras rigidly, let the crew change the distance between them, and keep them aligned through movement. The handout says the cameras must have matching geometry, exposure, colour balance, focus and synchronized zoom, so a rig that flexes or drifts causes visible problems.
A rig also decides how much flexibility the crew has with two settings: the gap between the cameras, called the interaxial, and the angle between them. How those settings shape depth is explained in the page on 3d convergence and interaxial distance.
The side-by-side rig
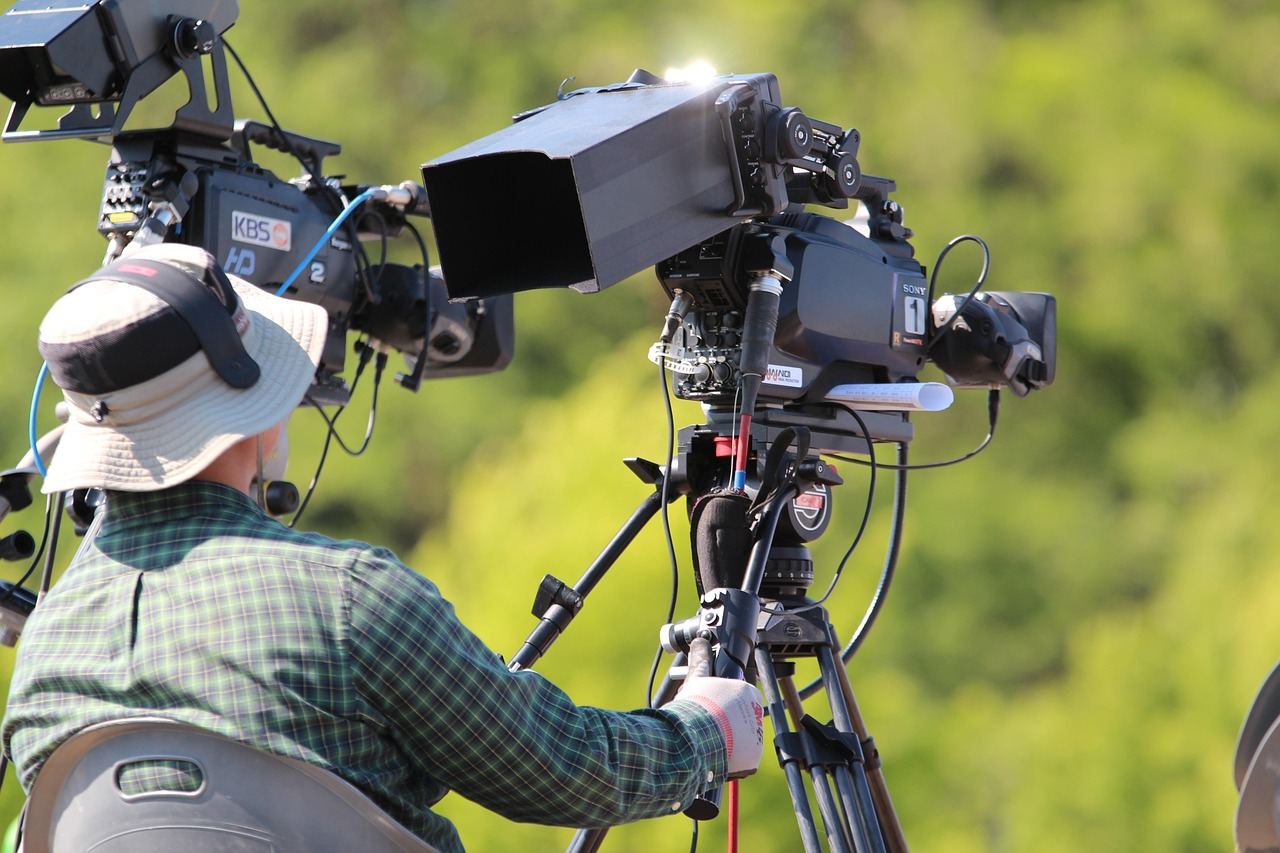
In a side-by-side rig, the handout explains, the two cameras are mounted parallel to each other. It is the simplest design: two cameras sit on a shared plate, facing the same direction, with the gap adjusted by sliding one of them.
The limit is physical. The handout notes that because of the size of cameras and lenses it is difficult to get a small separation with a side-by-side rig, so it is mostly suitable for medium and long shots. Two bodies cannot sit closer together than their own width allows, which means the smallest practical gap may still be larger than the spacing between human eyes.
For distant subjects this is not a problem, because a wider gap is acceptable and even helpful when objects are far away. For close subjects the gap is too large and the depth can look exaggerated, so crews pick another design for close work.
- Strengths: simple, light, quick to set up, no extra glass in front of the lenses.
- Limits: a minimum gap set by the camera bodies, so close shooting is difficult.
- Typical use: wide landscapes, sports, aerial and distant action.
The mirror or beam-splitter rig
A mirror rig solves the width problem by placing one camera horizontally and the other vertically. According to the handout, a semi-transparent mirror reflects the scene into the vertical camera while allowing the horizontal camera to see through the mirror. Because the mirror sits at an angle, the cameras can be placed so that their lenses effectively overlap.
The result is that the interaxial can be tiny. The handout says the distance on a mirror rig can be as small as you want, even down to zero, so it is very suitable for close shooting. That makes mirror rigs the usual choice for close-ups and for scenes in tight spaces.
The design brings costs. The handout says the mirror is fragile, dust prone and reduces light by one f-stop, and the image shot off the mirror must be flipped, with colour correction of one image against the other possibly required. Those reflections also mean that the image from the mirror camera is the one most likely to contain small artefacts, so editors generally treat the other eye as the master.
- Strengths: very small or zero gap, suited to close subjects and tight spaces.
- Limits: loses light, collects dust, needs flipping and colour matching, and is heavier and slower to set up.
- Typical use: close-ups, interviews, drama and scenes shot indoors.
Alignment, calibration and monitoring
Whichever design is chosen, alignment is the daily work. The handout lists the faults a crew must catch: vertical misalignment, which forces the eyes to move vertically apart to fuse the image, rotation errors in pitch, yaw and roll, zoom mismatch when cameras sit at different focal lengths, and colour differences between the two. It adds that most small rig errors can be corrected in post-production, but focus errors cannot.
That is why 3D shoots carry extra roles. A stereographer is responsible for creating comfortable 3D among all cameras, and a 3D engineer handles alignment and synchronization, according to the handout. Monitoring tools that overlay or subtract one eye from the other make mismatches visible on set before they become costly in the edit.
Rigs also need synchronized lenses. If one zoom is slightly faster than the other, the two images change size at different rates and the 3D breaks during the move. Motorized, matched lenses and stiff mounting reduce this risk, which is one reason rigs for moving shots are heavier than they look.
Parallel mounting or toe-in
Rigs also differ in how the cameras are pointed. The handout describes shooting parallel as acquiring stereo images without camera toe-in, so all convergence adjustments are made in post-production. In that case, it says, the zero parallax point sits at infinity, which gives every object negative parallax, and extra time is needed in post to set convergence.
Toe-in means angling the cameras inward so their views cross at the subject. The handout says toe-in is useful when objects in the scene are very close to the camera, but warns of keystoning, geometric distortion in the corners of the combined images, and of background divergence that can make the picture uncomfortable if the toe-in is excessive.
Many rigs offer both options through motorized mounts, so the crew can change the angle during a shot. A convergence puller, the handout notes, dynamically adjusts convergence and interaxial separation, which is common on live work and on moving camera shots where the subject distance changes.
The practical effect is on workload: shooting parallel keeps the set simpler but moves effort into post, while toe-in can fix the depth position on set but needs care to avoid distortion. Each production weighs these costs against its schedule.
Choosing a rig for the shot
The choice is mostly about subject distance and practical limits. A wide, distant shot can use a side-by-side rig. A close shot or confined location points to a mirror rig. Some productions carry both and switch according to the setup.
Whether to shoot with a rig at all is a separate decision, compared in the page on 3d conversion vs native 3d. Shooting natively requires a rig, while conversion starts from a single flat camera. The rig also affects scheduling, because extra alignment time on set is part of the cost of native capture.
Frequently asked questions
Why can’t a side-by-side rig do close-ups?
Show answer
The camera bodies and lenses have width, so the cameras cannot be placed as close as human eyes. That makes it suited to medium and long shots.
Why does a mirror rig lose light?
Show answer
One camera sees the scene through a semi-transparent mirror and the other sees its reflection, so each receives only part of the light. The handout puts the loss at one f-stop.
Can rig errors be fixed afterward?
Show answer
Most small errors can be corrected in post-production, but focus errors cannot.
Do both cameras need to match?
Show answer
Yes. Geometry, exposure, colour balance, focus and zoom must match for the pictures to fuse comfortably.