The 3d conversion vs native 3d question is about when the second eye’s picture is created: native 3D photographs both eyes during the shoot, while conversion builds one of them afterward from flat footage.
This page compares how each works and where each tends to fit, as part of the wider 3d film production guide. It is an independent informational page, not affiliated with any studio, brand or company.
Native 3D explained
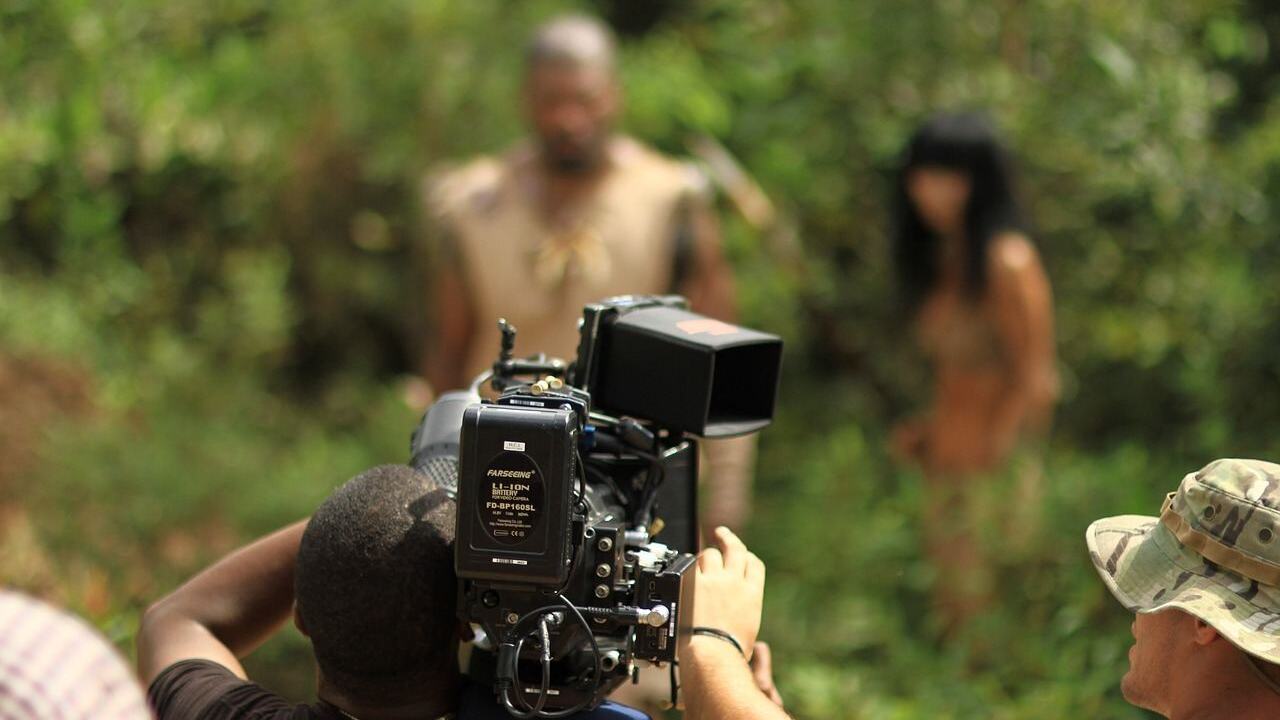
A native 3D film is photographed with two cameras at once. A training handout on stereoscopic 3D describes a pair of matched cameras, typically spaced at roughly adult eye distance, about 6cm, with the horizontal offset producing the binocular disparity from which depth is built. The principle is the one explained in how stereoscopic 3d works, applied directly at the camera.
Because the depth is recorded, the footage already contains real differences between the two views.
The cost is complexity on set. The handout says the cameras must have matching geometry, exposure, colour balance, focus and synchronized zoom, and it lists errors that crews watch for, such as vertical misalignment, rotation and zoom mismatch. Equipment for achieving this is covered in the guide to the 3d camera rig.
Post conversion explained
Conversion starts with ordinary flat footage and creates the second view later. A research paper in the SMPTE Motion Imaging Journal describes converting naturalistic two-dimensional video and film material to stereoscopic 3D using surrogate depth maps, which are grayscale-style images that stand in for how far away each part of a picture is. The paper also describes a semiautomatic system for content shown on large cinema screens.
The same abstract names the traditional method: rotoscoping, the labor-intensive work of tracing objects frame by frame so that each can be given its own depth. It adds that the manual task of filling in disoccluded regions, the areas that would be visible to one eye but are hidden behind an object in the original picture, can be significantly reduced by newer methods.
In practice, a conversion team separates each shot into layers, assigns depth to each, shifts the layers to create the missing view, and paints in the gaps. Artists decide how much depth each shot receives, so conversion can be tuned shot by shot after the edit is locked.
How the two methods compare
Neither method is simply better. Each trades control, cost and risk differently.
- Set complexity: native needs a second camera, a rig and a stereographer on every setup. Conversion needs only the normal camera crew.
- Light and lenses: a mirror rig reduces light by one f-stop, according to the handout, which affects lighting and lens choices. Conversion avoids that, because only one camera is used.
- Fixing errors: in native footage, most small rig errors can be corrected in post, but focus errors cannot be corrected. Conversion has no rig errors to correct, though it adds its own artifacts.
- Depth control: native depth is set by the cameras during the shoot. Conversion allows depth to be adjusted after editing, because artists place it by hand.
- Post-production load: the handout says 3D projects mean double the recorded material, double the disc space and double the rendering time for stereoscopic adjustments, which applies to native shoots. Conversion shifts the load into a long, specialized depth stage.
The handout figures are quoted from the same Newcastle-hosted training document, and the conversion details come from the SMPTE paper cited above.
Where each method fits
Native capture tends to suit productions that need real depth detail, shots with fine edges such as hair, foliage or water, and live or fast-turnaround work where there is no time for a long depth stage. Mirror rigs also suit close shooting, because the handout notes the interaxial on a mirror rig can be as small as zero.
Conversion tends to suit material that was already shot in 2D, films with heavy visual effects where the final image is built in a computer anyway, and shoots where a rig would slow the crew or limit lens choices. Conversion also allows the depth of an entire film to be designed in one pass, which helps keep depth consistent from shot to shot.
The result still has to feel consistent, so the stereographer treats both kinds of footage as one depth plan.
Making the choice before the shoot
The decision is best made during planning, not after footage exists, because it changes the schedule, the crew and the budget. A producer, director and stereographer usually weigh a short list of questions together.
- Shot types: how many close-ups, fast moves and detailed textures are planned, and how many shots are mostly computer-generated.
- Schedule: whether the release date leaves room for a long depth stage after the edit is locked, or needs depth fixed on set.
- Crew and kit: whether the team has access to matched cameras, a suitable rig and operators who know how to run them.
- Venue: the screen sizes the film will play on, since depth that works on a small display can feel stronger on a large one.
- Risk: which problems can be repaired later and which cannot, such as the focus errors the handout says are not correctable.
A depth script helps whichever route is chosen. The handout defines it as a script setting out the depth budget of individual shots throughout a production. With it, native crews know how much interaxial and convergence each setup needs, and conversion artists know how much depth to give each shot, so the finished film feels planned and not improvised.
Testing is cheap compared with fixing a decision later. A short test shot photographed natively and the same shot converted can be viewed side by side on a screen of the intended size, and the comparison often settles arguments faster than any list of pros and cons. The result is then judged for comfort first, because a picture that tires the eyes fails whichever method produced it.
The audience view
Viewers rarely know which method was used. They notice comfort, clarity and consistency. Native footage can show small imperfections from rig errors, such as colour differences between eyes, while conversion can show artifacts around edges where hidden areas were filled in. Good work in either route avoids both.
The deciding factors are usually practical: schedule, budget, the kind of scenes, and how much control the team wants over depth after the edit. A planned depth script helps in both cases, because it sets targets before work begins.
Frequently asked questions
Is native 3D always better than conversion?
Show answer
No. Each has strengths. Native capture records real depth detail, while conversion allows depth to be adjusted after editing and avoids rig complexity.
What is rotoscoping in 3D conversion?
Show answer
It is the labor-intensive tracing of objects frame by frame so that each can be assigned its own depth, according to the SMPTE paper.
Can a film use both methods?
Show answer
Yes.
Why does native 3D double the material?
Show answer
Two cameras record every shot, so storage and rendering for stereoscopic adjustments roughly double.