3D film production is the process of planning, shooting, editing and finishing a movie so that each eye receives a slightly different picture, which the brain fuses into depth. It adds depth planning and careful camera matching to every stage of ordinary filmmaking.
This guide follows a stereoscopic picture from script to screen and points to deeper pages on each topic. It is an independent informational resource and is not affiliated with any studio, brand or company.
What makes a film stereoscopic
Stereoscopic 3D tries to copy what people see with two eyes. A training handout on stereoscopic 3D written by two senior broadcast editors notes that human eyes sit roughly two-and-a-half inches, or 6cm, apart, so each eye sees the scene from a slightly different angle. The brain combines those two views to judge distance, an ability known as binocular vision.
A 3D camera setup imitates that arrangement. Two matched cameras photograph the same scene from slightly different positions, and a display or projector later delivers the left picture only to the left eye and the right picture only to the right eye. The explanation of how stereoscopic 3D works goes into the optics and the brain’s role in more detail.
The word “3D” is used loosely in film. In the same handout, computer-generated imagery built from 3D models is separated from stereoscopic 3D, often shortened to S3D, which is the illusion of depth created for two eyes. A film can be both: an animated feature built in a computer still has to be rendered from two viewpoints to become stereoscopic.
That distinction matters in planning, because the depth of a stereoscopic film is a creative and technical choice made shot by shot, not a switch applied at the end. Filmmakers who treat depth as another storytelling tool, like lighting or lens choice, tend to make shots that are easier to watch.
A short look at where the craft came from
Stereoscopic photography is older than cinema, and early cinema experiments followed the same two-eye logic. The longer story, from stereoscopes to digital projection, is told in the history of 3D film.
One milestone is worth knowing for production context. According to a timeline from HISTORY, Bwana Devil was released on November 26, 1952, and is credited as the first feature-length 3D film in color, kick-starting the 3D craze. The same timeline describes an early system that used two cameras mounted side-by-side, one representing the left eye and the other the right.
That two-camera idea is still the core of stereoscopic shooting. What changed over the decades is the precision: modern digital cameras can be matched, synchronized and monitored in ways early film cameras could not, and software now handles corrections that once had to be solved on set.
Planning depth before the shoot
Production starts on paper. The script and storyboard decide where a story needs depth, where it needs a flat, calm image, and where an object might reach toward the audience. Stereoscopic crews often add a plan for depth on top of the usual shot list.
The handout defines a depth budget as the maximum positive and negative parallax allowed for comfortable viewing, expressed as a percentage of screen width. It also defines a depth script as a script setting out the depth budget of individual shots throughout a production. In practice that means the filmmakers decide in advance how far behind the screen and how far in front of it each sequence may go.
The reasoning is about comfort. The handout explains that when viewing 3D, the eyes always focus on the screen but may converge anywhere along the depth axis, and that placing objects too far in front of and too far behind the screen at the same time makes the picture impossible to fuse. Planning stops that from becoming a problem in the edit, when fixing it is costly.
- Story beats: quiet scenes can use gentle depth, while spectacle may justify stronger effects.
- Locations: deep spaces, such as corridors or landscapes, show depth naturally, while flat walls do not.
- Graphics and titles: captions and graphics also sit in depth, so they have to be counted in the depth budget.
- Delivery: the intended screen size changes how much separation a picture can carry, so planners think about the venue early.
Rehearsal and testing belong in this phase as well. Crews shoot short camera tests with the chosen lenses and rig, review them on a screen of the intended size, and adjust the plan before the main shoot begins. A test also reveals practical problems, such as reflections that appear in only one camera, that are cheaper to solve before a full crew is on location.
Scheduling is part of the plan too. Alignment checks, rig changes and careful monitoring take time, so productions often allow extra minutes per setup compared with a 2D shoot. Teams that budget for this up front avoid rushed shots that later need expensive repair.
Planning also includes choosing the method of capture. Some films shoot with two cameras from the start, and others photograph in 2D and create the second eye later. The trade-offs are covered in the comparison of 3D conversion vs native 3D, and the choice usually follows budget, schedule and the kind of footage involved.
Cameras, rigs and the two main settings
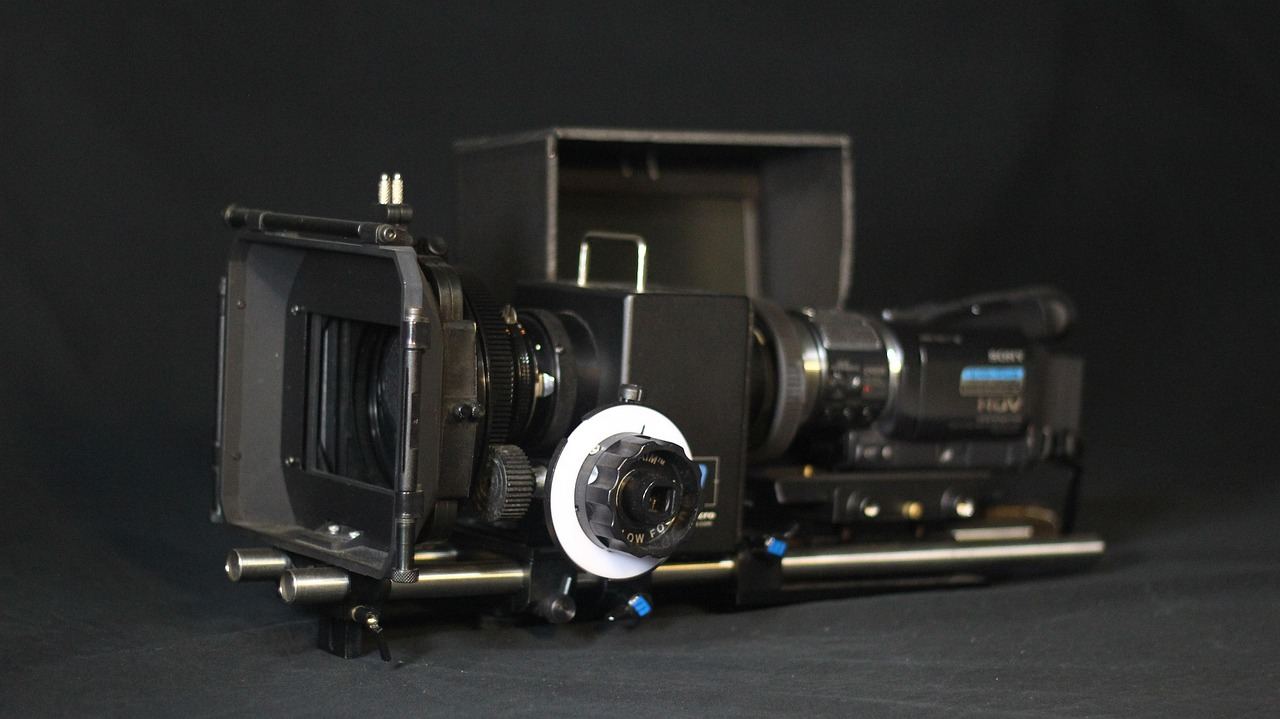
On set, a 3D shot needs two cameras with matching geometry, exposure, colour balance, focus and synchronized zoom. The handout says matched cameras are typically spaced at roughly adult eye distance, about 6cm, and that the horizontal offset produces the binocular disparity from which depth is built.
Two common mounting styles solve the problem of getting two bulky cameras close together. A side-by-side rig mounts the cameras parallel. The handout notes that because of the size of cameras and lenses it is difficult to get a small separation this way, so it suits medium and long shots. A mirror or beam-splitter rig places one camera horizontally and the other vertically, with a semi-transparent mirror between them. The handout adds that the mirror is fragile, dust prone and reduces light by one f-stop, and that the image shot off the mirror must be flipped, but it allows a separation as small as zero and so suits close shooting.
The full range of equipment, from beam splitters to compact side-by-side mounts, is covered in the guide to the 3D camera rig and how each design behaves on a real shoot.
Interaxial and convergence
Two settings shape the depth of every shot. The first is the interaxial, the distance between the left and right cameras. The handout says that adjusting it lets crews increase or decrease the depth in a scene, and that the wider the interaxial, the more depth is captured. The second is convergence, which determines where an object appears in relation to the screen. The handout explains that convergence can be adjusted either by toeing the cameras inward or by horizontal image translation in post-production.
When both are handled together, they give control over depth and the placement of objects within the 3D space. The detailed rules of thumb are laid out in the page on 3D convergence and interaxial distance.
Shooting parallel or toed-in
The handout describes two ways of working. Shooting parallel means acquiring stereo images with no camera toe-in, so all convergence adjustments are made later in post-production. When cameras are parallel, the zero parallax point sits at infinity, which gives every object negative parallax, and extra time is needed in post to set the convergence. Shooting with toe-in has a different risk: the handout warns of keystoning, geometric distortion in the corners of the combined images, and says excessive toe-in can make the background uncomfortable or impossible to fuse. Toe-in is useful when objects in the scene are very close to the camera.
Neither approach is simply better. Productions pick one depending on subject distance, available post-production time and the preferences of the stereographer.
The stereographer and the on-set crew
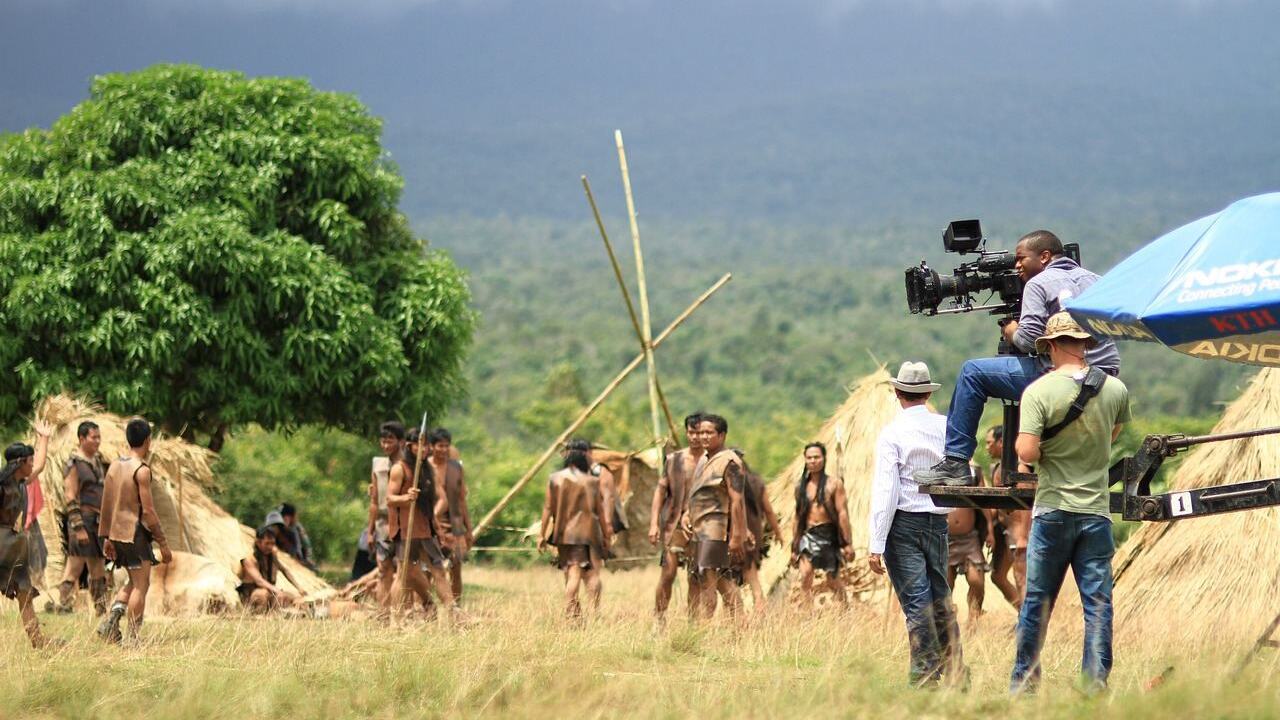
A 3D shoot adds specialist roles to the usual crew. For live productions, the handout lists a 3D director or stereographer, who is responsible for creating comfortable 3D among all cameras and who manages and judges overall 3D quality, along with a 3D engineer for alignment and synchronization and a convergence puller who dynamically adjusts convergence and interaxial separation. Scripted film shoots use similar functions, though the titles and team sizes vary by production.
The stereographer works alongside the director and cinematographer rather than above them. A cinematographer decides how a shot looks, and the stereographer helps decide how deep it feels, so their choices must agree. A very wide lens, a fast camera move or a busy foreground can each change how depth reads, so these conversations happen during preparation, not after the footage is shot.
Errors to catch on set
The handout lists a set of defects that a monitoring team looks for, because small rig errors are easier to correct than to explain away later. The ones it names include:
- Vertical misalignment: the eyes have to move vertically apart to fuse the picture, which can be very uncomfortable.
- Rotation errors: pitch, yaw and roll differences between the cameras, most apparent along the edges of the image.
- Zoom mismatch: cameras at different focal lengths give left and right pictures of different size.
- Colour difference: exposure and colour balance should be the same in both cameras.
- Retinal rivalry: something appears in only one eye, such as a reflection, glint or lens flare, and the viewer cannot reconcile the images.
- Edge violation: an object in front of the screen is cut off by the screen edge, which produces a conflict of cues.
The handout adds a reassuring note and a warning: most small rig errors can be corrected in post-production, but focus errors cannot. That is why focus is watched so closely on set.
Editing, depth grading and finishing
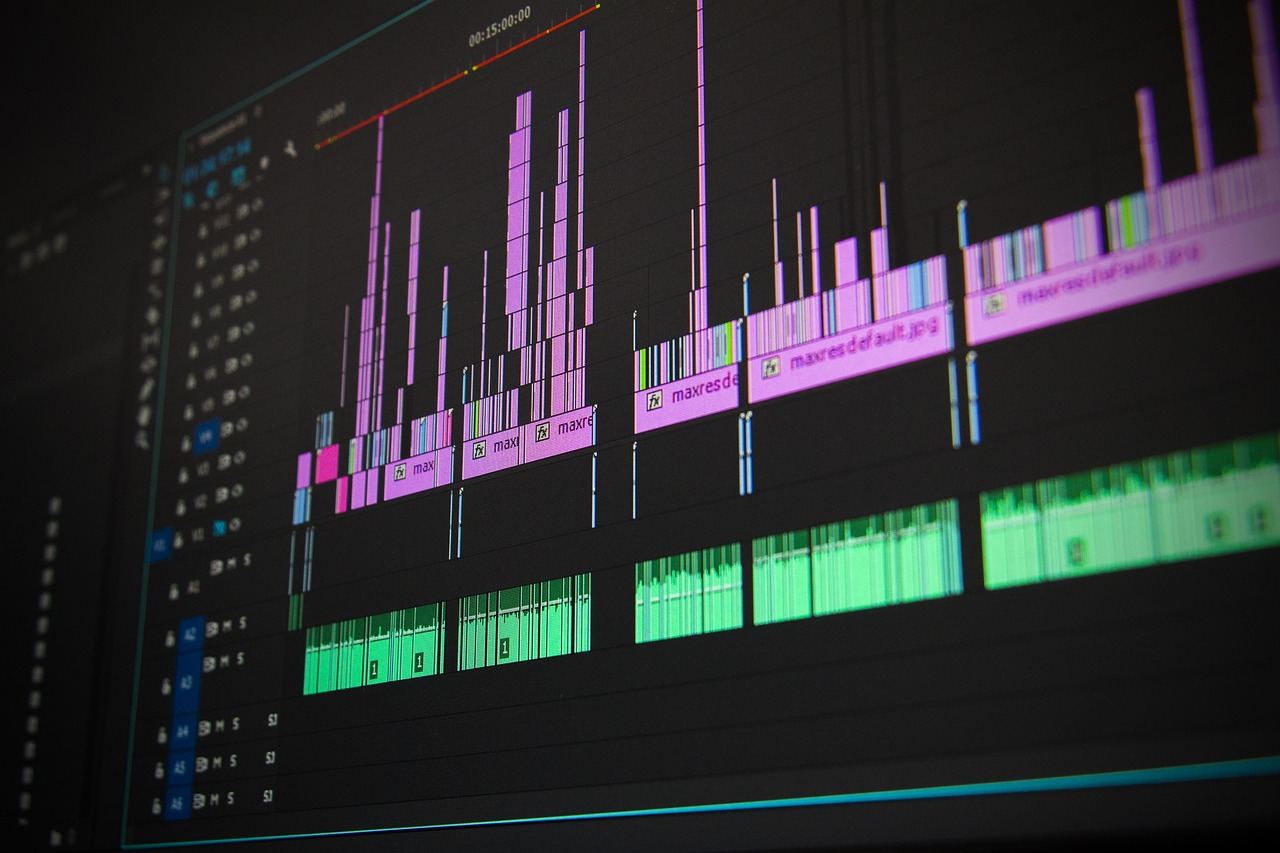
Stereoscopic post-production starts with more material. The handout notes that 3D projects mean double the recorded material, double the disk space for storage and double the rendering time for any stereoscopic adjustments. Editors work with paired streams, and a mirror rig’s artefacts usually sit in one eye, so the other eye is generally treated as the master image, for example when a 2D version is made from the 3D material.
Editing rhythm changes too. The handout says the pace of 3D edits should generally be slower, which gives viewers time to converge on different parts of each shot. It also warns that cuts between shots with strong negative and strong positive parallax can be uncomfortable and tiring, so a depth grade that keeps depth continuous, avoiding depth jump-cuts, will probably be needed.
Review sessions matter as much as the tools. A cut is judged on a screen of the intended size, because depth that feels comfortable on a small monitor can feel stronger in a theater. Editors, the stereographer and the director review sequences together, looking for places where depth jumps between shots, where an object drifts into an uncomfortable position, or where the story would be better served by flattening a moment.
Depth grading
Depth grading is the stereoscopic equivalent of colour grading. As the handout defines it, it is a post-production process where the convergence point is adjusted by a horizontal image translation of the left and right images. Shifting the two pictures sideways moves the whole scene forward or back relative to the screen. Colourists and stereographers also match the colour of the two eyes and fix leftover alignment errors.
A related fix applies to edge violations. The handout describes a floating stereoscopic window, made with a crop mask on the left of the left image and the right of the right image, which gives the illusion that the screen surround sits on top of the image.
Converted films follow a different post route, since the second eye is built from a single image. That is part of why teams weigh native shooting and conversion so carefully at the planning stage.
From the grade to the cinema screen
Once the picture is finished, it must be packaged for a viewing system. The handout describes how one broadcaster combines the left and right images into a single video stream by squeezing them horizontally in a side-by-side format, which the viewing device then expands. Cinema uses its own packaging, but the principle is the same: two pictures travel together and are separated at the end.
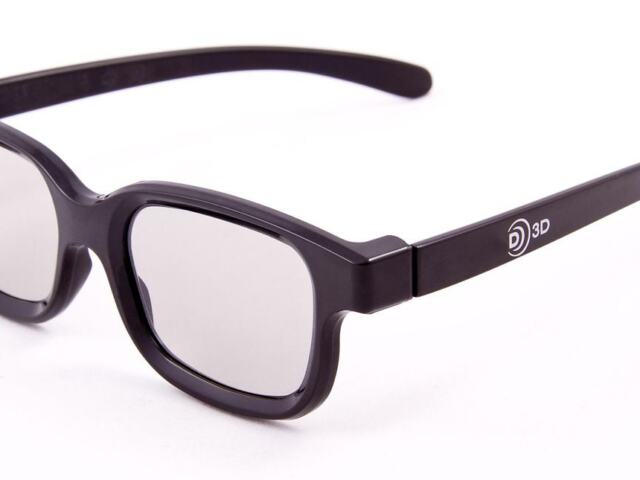
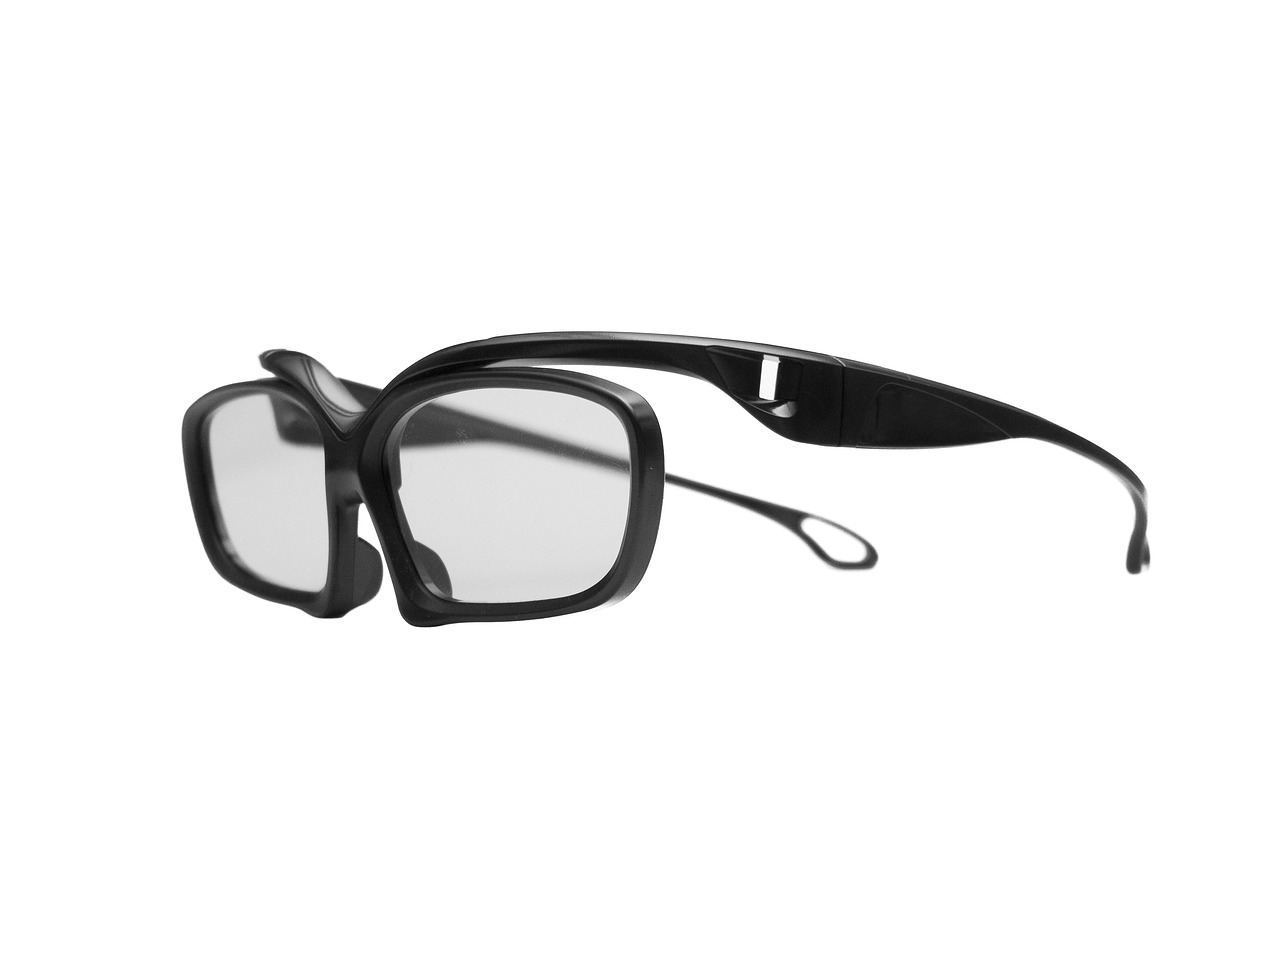
Separation relies on glasses. According to the handout, circular polarization shows each image with opposite polarization, and passive glasses with matching filters block the wrong image for each eye; because the glasses need no power, they are very cheap to make. Shutter glasses contain LCD lenses that alternately black out each eye in sync with the screen and need a battery. Anaglyph glasses use two colours, typically red and cyan. A full comparison appears in the page on polarized vs active shutter 3D glasses.
Screen size changes everything about how a finished picture lands. A depth setting that looks gentle on a television can look very different in a large auditorium, which is why large-format cinema gets its own treatment in the overview of IMAX 3D and the way giant screens alter the viewing experience.
Delivery brings the production cycle to a close, though the industry story continues beyond it. The popularity of the format has risen and fallen over time, a pattern examined in the article on why 3D movies declined.
Where 3D production fits in the wider industry
Stereoscopic work is a specialty inside a much larger business. Studios, distributors, exhibitors and audiences all shape which films are made in 3D and how they reach screens, and the broader picture is explained in the entertainment industry guide.
Sound is the other half of the experience. Music, score and sound design are developed in parallel with the picture, and the process from recording to release is outlined in the music production guide.
The practical lesson of 3D production is that depth is cheap to plan and expensive to repair. Decisions about interaxial, convergence, camera matching and depth continuity are easiest to make early, with a stereographer involved from preparation to final grade.
Frequently asked questions
Does a film need special cameras to be shot in 3D?
Show answer
Stereoscopic shooting needs two matched cameras or a purpose-built stereo camera. The training handout describes cameras that must match in geometry, exposure, colour balance, focus and zoom, usually mounted in a side-by-side or mirror rig.
Can depth problems be fixed after shooting?
Show answer
Many can. Most small rig errors can be corrected in post-production, and convergence can be shifted with horizontal image translation. Too much interaxial and focus errors are much harder or impossible to fix.
What does a stereographer do?
Show answer
A stereographer is responsible for creating comfortable 3D among all cameras and for judging the overall 3D quality, working with the director and cinematographer.
Why are 3D films cut more slowly?
Show answer
Viewers need time to converge their eyes on each new shot. Quick cuts between very different depth positions can be tiring, so editors tend to slow the pace and smooth depth between shots.